


How to replace the main line
Replacing the main wiring harness on your eBike is a complex task that involves all the electronic components, including the controller, display, brakes, throttle, and front light. It requires a good understanding of the eBike's electrical system. If you're not highly confident, it's advisable to seek professional help. If you decide to proceed on your own, here are some basic steps:
Tools and Materials:
- New main wiring harness (ensure compatibility with your eBike)
- Screwdriver set
- Wrench set (if needed)
- Wire cutters and/or strippers
- Electrical tape or heat shrink tubing
- Zip ties (for securing the new wiring harness)
Replacement Steps:
1. Power Down and Secure Your eBike
- Ensure the eBike is powered off and remove the battery from the frame to ensure safety.
2. Document the Old Wiring Layout
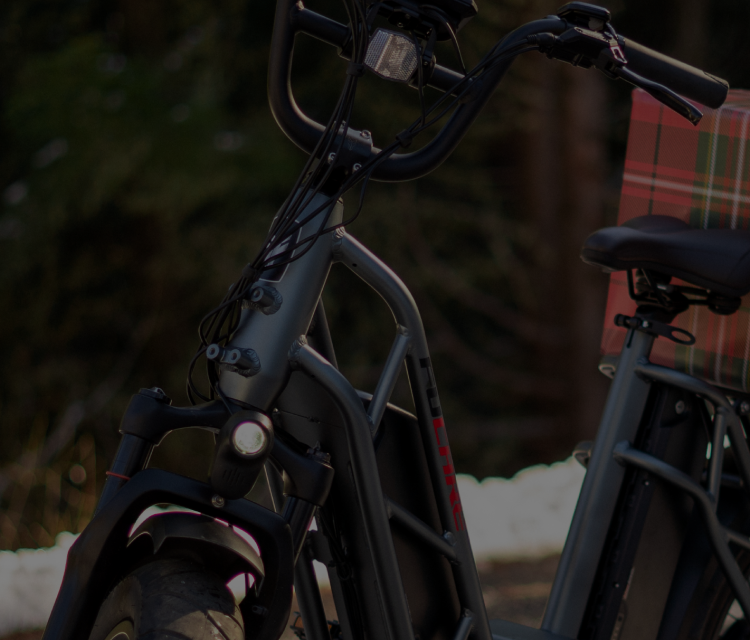
- Before disassembling anything, take detailed notes or photos of the old wiring layout and all connections, especially those linking to the controller, display, brakes, throttle, and front light.
3. Remove the Old Wiring Harness
- Carefully use the screwdrivers and/or wrenches to disconnect all components linked to the old wiring harness, such as the controller, display, brake switches, throttle, and front light.
- Pay attention to how the wiring harness is routed through the frame's cable channels, as this will be important for re-routing the new wiring harness.
4. Install the New Wiring Harness
- Route the new wiring harness through the frame's cable channels, mirroring the layout of the old harness. Use your documentation as a guide to ensure accuracy.
- Connect the new harness to the eBike's components (controller, display, brakes, throttle, front light). Refer to your notes or photos to make sure each connection is correct.
5. Secure the Wiring
- Once all connections are made, use zip ties to securely fasten the wiring harness within the frame's cable channels. Ensure there are no loose wires that could get caught or damaged during riding.
- Cover any exposed connections with electrical tape or heat shrink tubing to protect them from moisture and dirt.
6. Test the Connections
- Reinstall the battery and power on the eBike. Test all functions to ensure they are working correctly, including the display, throttle response, brake cutoffs, and front light.
7. Final Adjustments
- Make any necessary adjustments to ensure all components are functioning seamlessly together. Check the routing of the wiring harness to ensure it doesn't interfere with any moving parts or the eBike's operation.
Tips for a Successful Replacement:
- Compatibility: Double-check that the new wiring harness is specifically designed for your eBike model.
- Patience and Precision: Take your time with each connection and routing step to avoid mistakes that could affect the eBike's functionality.
- Professional Assistance: If you encounter any uncertainties or difficulties during the process, consult with a professional eBike technician to ensure safety and proper functionality.
Conclusion:
Replacing an eBike's main wiring harness requires careful attention to detail and a good understanding of the electrical system. Following these steps can help experienced individuals successfully complete the replacement, enhancing the eBike's performance. If you encounter difficulties, seeking professional assistance is recommended to ensure safety and proper operation.
Leave us a message and we will get back to you ASAP!