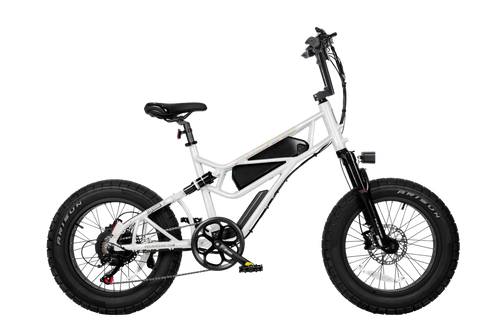






How to replace the controller
Replacing the controller on an eBike is a significant task that involves working with the bike's electrical system. It's crucial to ensure compatibility with your eBike's motor, battery, and other electrical components. If you're not experienced with electrical systems or eBike maintenance, it might be best to have this done by a professional. However, if you're comfortable with undertaking this task, here's a general guide:
Tools and Materials Needed:
- New eBike controller (compatible with your eBike's specifications)
- Screwdriver set
- Wrench set
- Wire cutters/strippers
- Electrical tape or heat shrink tubing
- Multimeter (for testing connections)
Steps to Replace the eBike Controller:
1. Power Down and Secure Your eBike
- Ensure your eBike is powered off. Remove the battery to ensure safety while working with the electrical components.
2. Access the Old Controller
- Locate the controller compartment, which is typically integrated into the eBike frame or attached externally. Use a screwdriver or wrench to open the compartment or remove the controller's cover.
3. Document Connections
- Before disconnecting anything, take detailed photos or notes of all connections to the controller, including motor wires, battery leads, display cables, and any sensors. This documentation will be crucial for reconnecting the new controller correctly.
4. Disconnect the Old Controller
- Carefully disconnect all wires from the old controller. Some connections may have clips or connectors that can be unplugged, while others might be soldered or secured with nuts or screws.
5. Remove the Old Controller
- Once all connections are disconnected, remove any fasteners holding the controller in place and take the controller out of the eBike.
6. Install the New Controller
- Position the new controller where the old one was located. Secure it in place using the original fasteners or those provided with the new controller.
7. Reconnect Wires
- Refer to your documentation (photos or notes) to reconnect all wires to the new controller. Ensure each connection is secure and matches the original configuration. Use electrical tape or heat shrink tubing to insulate any exposed wires or connections.
8. Test Connections
- With all wires connected and insulated, use a multimeter to test each connection for proper continuity and ensure there are no shorts.
9. Reinstall the Battery and Power On
- Reinstall the eBike's battery and power on the system. Test the basic functions, such as the throttle, pedal-assist, and display, to ensure everything operates correctly.
10. Test Ride
- Conduct a careful test ride in a safe area to confirm the eBike's performance and functionality with the new controller. Pay close attention to the responsiveness of the throttle, pedal-assist levels, and any error messages on the display.
Tips for a Successful Replacement:
- Compatibility: Double-check that the new controller is compatible with your eBike's motor, battery voltage, and amperage specifications.
- Handling: Be cautious when handling electrical components to avoid damage.
- Professional Help: If at any point you're unsure about the process or compatibility, seek assistance from a professional eBike technician.
Conclusion:
Replacing an eBike controller is a complex task that requires careful attention to detail, especially when handling electrical connections. Following these steps can help experienced individuals successfully complete the replacement, enhancing the eBike's performance. If you encounter difficulties, professional assistance is recommended to ensure safety and functionality.
Leave us a message and we will get back to you ASAP!